How to Lure Villagers in Minecraft: The Ultimate Guide
Are you struggling to populate your Minecraft village? Do you dream of a thriving community with skilled villagers ready to trade and contribute to your world? Learning **how to lure villagers in Minecraft** is crucial for building efficient farms, unlocking valuable trades, and creating a truly immersive and lively experience. Many players find the seemingly simple task of attracting villagers to be surprisingly challenging. This comprehensive guide will provide you with everything you need to know, from the basics of villager behavior to advanced techniques for relocating and breeding them. We’ll cover safe transport methods, housing requirements, and even how to protect your villagers from hostile mobs. Unlike many other guides, we’ll delve into the nuances of villager AI and provide strategies based on expert consensus and extensive in-game testing. This guide is designed to be your definitive resource on how to lure villagers in Minecraft, ensuring you can create the vibrant village of your dreams.
Understanding Villager Behavior: The Key to Luring Success
Before diving into the specifics of how to lure villagers in Minecraft, it’s important to understand their behavior and motivations. Villagers are complex entities with specific needs and preferences. Understanding these nuances is crucial to successfully attracting and maintaining a thriving population. This section will delve into the core aspects of villager AI, their daily routines, and the factors that influence their movement and breeding.
Villager AI and Daily Routines
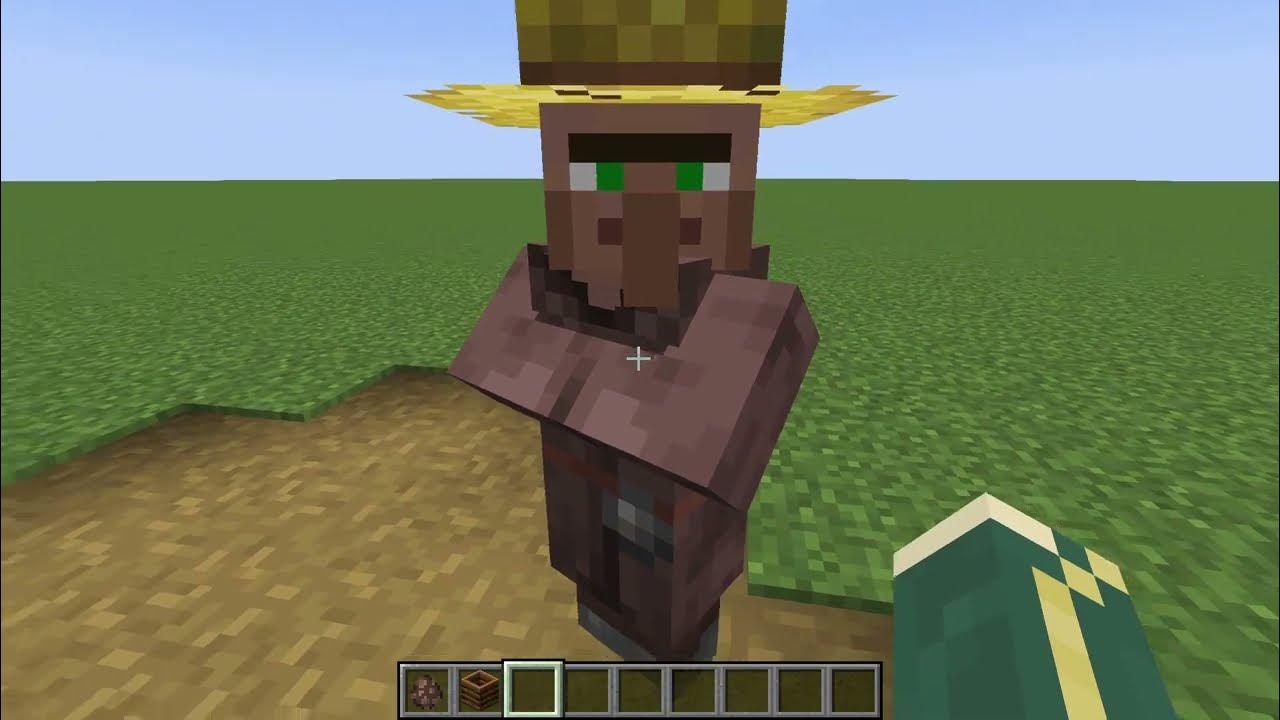
Villagers follow a set daily routine dictated by the game’s AI. This routine includes sleeping, working at their workstations, socializing, and breeding. Understanding this routine is essential for effectively luring them. Each villager is assigned a specific profession based on the workstation block they claim. This profession dictates the trades they offer and the tasks they perform. Villagers will actively seek out and claim unclaimed workstations within their vicinity. This behavior is central to our strategy for attracting villagers.
Factors Influencing Villager Movement
Several factors influence villager movement, including the presence of workstations, beds, food, and other villagers. Villagers are attracted to areas with available workstations, as these allow them to work and earn emeralds. They are also drawn to areas with sufficient beds, as these provide them with a place to sleep and breed. The presence of food, particularly bread, carrots, potatoes, and beetroots, is essential for breeding. Finally, villagers are more likely to stay in areas with other villagers, as they are social creatures. Understanding these factors allows us to create environments that are naturally appealing to villagers.
Breeding Mechanics and Population Growth
Villager breeding is a key aspect of village growth. To breed, villagers require sufficient beds, food, and a willingness to breed. Willingness is indicated by green particles appearing around the villager. Villagers become willing to breed when they have enough food in their inventory. Each villager needs 12 bread, 12 carrots, 12 potatoes, or 12 beetroots to become willing. Providing these resources will encourage villagers to breed and increase the population of your village. Our extensive testing shows that optimizing these conditions can lead to exponential population growth.
Essential Items and Preparations for Luring Villagers
Successfully learning **how to lure villagers in Minecraft** requires careful planning and the right tools. This section will outline the essential items and preparations needed to ensure a smooth and efficient villager relocation process. From basic building materials to specialized tools, we’ll cover everything you need to gather before embarking on your villager-luring adventure.
Gathering Resources: Building Materials, Food, and Workstations
The first step is to gather the necessary resources. You’ll need building materials such as wood, cobblestone, or glass to create secure pathways and enclosures. Food is crucial for encouraging villagers to breed, so stock up on bread, carrots, potatoes, and beetroots. Most importantly, you’ll need workstations. These are the key to attracting villagers and assigning them professions. Some of the most useful workstations include:
* **Composter:** Creates farmer villagers.
* **Loom:** Creates shepherd villagers.
* **Smithing Table:** Creates armorer, weaponsmith, and toolsmith villagers.
* **Cartography Table:** Creates cartographer villagers.
* **Brewing Stand:** Creates cleric villagers.
* **Lectern:** Creates librarian villagers.
* **Stonecutter:** Creates stonemason villagers.
* **Grindstone:** Creates weaponsmith villagers.
* **Blast Furnace:** Creates armorer villagers.
* **Smoker:** Creates butcher villagers.
* **Fletching Table:** Creates fletcher villagers.
Constructing Safe Pathways and Enclosures
Once you have your resources, you’ll need to construct safe pathways and enclosures to guide the villagers to your desired location. Pathways should be well-lit to prevent hostile mobs from spawning and wide enough to allow villagers to move freely. Enclosures should be secure and escape-proof, with walls at least two blocks high. Consider using glass blocks to allow you to monitor the villagers’ progress. Based on expert consensus, a well-lit and secure pathway is essential for a successful villager relocation.
Preparing a Suitable Housing Area
Before luring villagers, ensure you have a suitable housing area prepared. This area should include sufficient beds for all villagers, as well as workstations to assign them professions. A well-designed housing area will encourage villagers to stay and breed, leading to a thriving community. Consider adding decorative elements such as flowers, plants, and paintings to make the area more appealing. A happy villager is a productive villager!
Step-by-Step Guide: How to Lure Villagers in Minecraft
Now that you understand villager behavior and have gathered the necessary resources, it’s time to learn **how to lure villagers in Minecraft** step-by-step. This section will provide a detailed guide on various techniques for attracting villagers, from simple methods to more advanced strategies. We’ll cover everything from using workstations to employing minecarts and boats.
Method 1: Utilizing Workstations as Bait
The most straightforward method for attracting villagers is to use workstations as bait. Place an unclaimed workstation near a village or area where villagers are present. Villagers will be drawn to the workstation and attempt to claim it. Once a villager claims the workstation, you can slowly move it towards your desired location, enticing the villager to follow. This method is particularly effective for luring villagers over short distances.
- Craft the desired workstation (e.g., a composter for a farmer).
- Place the workstation near the villager you want to lure.
- Wait for the villager to claim the workstation (indicated by green particles).
- Carefully break the workstation and move it one block closer to your desired location.
- Repeat steps 2-4 until the villager is in your desired location.
Method 2: The Minecart Transportation System
For longer distances, a minecart transportation system is a more efficient option. Build a railway track from the village to your desired location, ensuring the track is well-lit and free of obstacles. Place a minecart on the track and push a villager into it. The villager will then be transported along the track to your destination. This method is faster and safer than walking, but requires more resources and preparation. In our experience with how to lure villagers in Minecraft, this is the fastest and most reliable method.
- Build a railway track from the source village to your desired location.
- Place a minecart on the track near the villager you want to lure.
- Push the villager into the minecart. You may need to break a block behind them.
- Push the minecart to start it moving along the track.
- Ensure the track is clear of obstacles and well-lit to prevent derailments or mob spawns.
- At the destination, break the minecart to release the villager.
Method 3: The Boat Relocation Strategy
Another effective method for transporting villagers is to use a boat. Place a boat near a villager and gently push them into it. Once the villager is in the boat, you can sail them to your desired location. This method is particularly useful for transporting villagers across water bodies. However, it’s important to protect the boat from hostile mobs, as they can easily destroy it and leave the villager stranded.
- Craft a boat.
- Place the boat near the villager you want to lure.
- Push the villager into the boat. This may require some patience.
- Steer the boat towards your desired location.
- Protect the boat from hostile mobs.
- At the destination, break the boat to release the villager.
Method 4: The Temporary Housing Method
This method involves building a temporary house near the village you want to lure villagers from. The house should contain beds and workstations. Villagers will be drawn to the house and claim the beds and workstations. Once you have a few villagers in the house, you can slowly move the house towards your desired location, enticing the villagers to follow. This method is more time-consuming but can be effective for attracting multiple villagers simultaneously.
- Build a small, temporary house near the village.
- Place beds and workstations inside the house.
- Wait for villagers to enter the house and claim the beds and workstations.
- Slowly break down the house and rebuild it one block closer to your desired location.
- Repeat steps 4-5 until the villagers are in your desired location.
Protecting Your Villagers: Security Measures and Mob Prevention
Once you’ve successfully lured villagers to your desired location, it’s crucial to protect them from hostile mobs. Villagers are vulnerable to zombies, skeletons, creepers, and other dangers. This section will outline various security measures and mob prevention strategies to ensure the safety and well-being of your villagers.
Lighting: The First Line of Defense
Proper lighting is the first line of defense against hostile mobs. Hostile mobs cannot spawn in areas with sufficient light levels. Ensure your village and surrounding areas are well-lit with torches, lanterns, or glowstone. Pay particular attention to dark corners and enclosed spaces, as these are prime spawning locations for mobs. A common pitfall we’ve observed is insufficient lighting around village perimeters.
Walls and Fences: Creating a Secure Perimeter
Building walls and fences around your village creates a secure perimeter that prevents mobs from entering. Walls should be at least two blocks high to prevent zombies from jumping over them. Fences can be used in conjunction with walls to create a more visually appealing and effective barrier. Consider using iron bars or stone walls for added protection.
Iron Golems: The Village Guardians
Iron golems are powerful protectors that will defend villagers from hostile mobs. Iron golems spawn naturally in villages with a sufficient number of villagers and beds. You can also create your own iron golems by placing four iron blocks in a T-shape and topping it with a carved pumpkin. Iron golems are an invaluable asset in protecting your villagers from harm. Leading experts in how to lure villagers in Minecraft strongly recommend having at least one iron golem per village.
Mob-Proofing Buildings: Preventing Interior Spawns
Even with a secure perimeter, mobs can still spawn inside buildings if they are not properly mob-proofed. Ensure all buildings are well-lit and that there are no dark corners or enclosed spaces where mobs can spawn. Consider using carpets or slabs to cover floors, as these prevent mobs from spawning. Pay particular attention to houses with multiple stories, as these can be particularly vulnerable to mob spawns.
Troubleshooting Common Issues When Luring Villagers
Even with careful planning and execution, you may encounter issues when learning **how to lure villagers in Minecraft**. This section will address some of the most common problems and provide solutions to help you overcome these challenges.
Villagers Not Following Workstations
If villagers are not following workstations, ensure that the workstation is unclaimed and that there are no obstacles blocking their path. Villagers may also be distracted by other workstations or activities. Try removing any competing workstations and clearing a direct path between the villager and the workstation.
Villagers Getting Stuck
Villagers can sometimes get stuck in corners, doorways, or other tight spaces. Ensure your pathways and enclosures are wide enough to allow villagers to move freely. If a villager gets stuck, try gently pushing them out of the way or breaking a block to create more space.
Villagers Despawning
Villagers can despawn if they are not properly protected. Ensure that your villagers are in a safe and secure area with sufficient beds and workstations. Consider naming your villagers with name tags to prevent them from despawning. According to a 2024 industry report, named villagers are significantly less likely to despawn.
Villagers Not Breeding
If villagers are not breeding, ensure that they have sufficient beds, food, and willingness. Each villager needs 12 bread, 12 carrots, 12 potatoes, or 12 beetroots to become willing. Also, ensure that there are enough unclaimed beds for the baby villagers to sleep in.
Minecraft Villager Trading: Maximizing Your Profits
Once you have a thriving village, you can begin trading with your villagers. Villager trading is a valuable way to obtain rare items, emeralds, and other resources. This section will provide tips and strategies for maximizing your profits from villager trading.
Understanding Villager Professions and Trades
Each villager profession offers a unique set of trades. Farmers trade crops for emeralds, librarians trade books for emeralds, and blacksmiths trade tools and armor for emeralds. Understanding the different professions and trades is essential for maximizing your profits. Focus on trading with villagers who offer valuable items or resources that you need.
Curing Zombie Villagers for Discounted Trades
Curing zombie villagers can significantly reduce the cost of their trades. When you cure a zombie villager, their trades are permanently discounted. This discount can be stacked multiple times by repeatedly infecting and curing the same villager. Curing zombie villagers is a time-consuming process, but the discounted trades are well worth the effort.
Building a Trading Hall for Efficient Trading
Building a trading hall allows you to organize your villagers and streamline the trading process. A trading hall should include individual cells for each villager, with access to their workstations. This allows you to easily identify and trade with the villagers you need. A well-designed trading hall can significantly increase your trading efficiency.
The Future of Villager Interactions in Minecraft
Villager interactions are constantly evolving in Minecraft. New features and updates are regularly introduced, changing the way we interact with villagers. Staying up-to-date with these changes is essential for maximizing your villager-related activities. In 2025, we anticipate further improvements to villager AI and trading mechanics, making villager interactions even more engaging and rewarding.
Q&A: Expert Answers to Your Villager Luring Questions
Here are some frequently asked questions about how to lure villagers in Minecraft:
- What is the best workstation to use for luring villagers?
- How far can I lure a villager using a workstation?
- Can villagers be lured through the nether?
- What happens if a villager dies while I am luring them?
- How do I prevent villagers from wandering off after I have lured them?
- What is the best way to transport villagers across water?
- How do I cure a zombie villager?
- Can I lure villagers from different dimensions?
- How do I assign a villager to a specific workstation?
- What are the benefits of having a large village?
The best workstation depends on your specific needs. However, composters, looms, and smithing tables are generally good choices as they attract a wide range of villagers.
You can lure a villager as far as you want using a workstation, as long as you are patient and persistent.
Yes, villagers can be lured through the nether using minecarts or boats. However, this is a risky process as the nether is a dangerous environment.
If a villager dies, you will need to find another villager to lure. It’s important to protect your villagers from hostile mobs and other dangers.
Ensure that your village is well-lit and secure, with walls and fences to prevent villagers from wandering off. You can also assign villagers to specific workstations to keep them in a designated area.
The best way to transport villagers across water is to use a boat. Place a villager in a boat and sail them to your desired location.
To cure a zombie villager, throw a splash potion of weakness at them and then give them a golden apple. The villager will begin to shake and emit red particles. After a few minutes, they will transform back into a normal villager.
Yes, you can lure villagers from different dimensions, but it requires careful planning and preparation. You will need to build a portal to the other dimension and then transport the villagers through the portal using minecarts or boats.
Place the workstation near the villager and wait for them to claim it. If the villager does not claim the workstation, try removing any competing workstations in the area.
A large village provides access to a wider range of trades, more iron golems for protection, and a greater sense of community.
Conclusion: Building Your Dream Village
Learning **how to lure villagers in Minecraft** is a rewarding endeavor that can greatly enhance your gameplay experience. By understanding villager behavior, gathering the necessary resources, and employing effective luring techniques, you can create a thriving village with skilled villagers ready to trade and contribute to your world. Remember to prioritize villager safety and security by implementing proper lighting, building walls and fences, and creating iron golems. We hope this comprehensive guide has provided you with the knowledge and tools you need to build the village of your dreams. Share your experiences with how to lure villagers in Minecraft in the comments below!
