
## Upper Flex Hose on Kitchen Sink Leaking: A Comprehensive Repair Guide
Is your kitchen sink constantly dripping, leaving you frustrated and wasting water? A common culprit is a leaky upper flex hose. This guide provides a comprehensive, expert-backed approach to diagnosing and resolving problems with an **upper flex hose on kitchen sink leaking**. We’ll walk you through everything from identifying the leak to performing the repair yourself, saving you time, money, and the hassle of calling a plumber for a simple fix. Unlike basic tutorials, this guide delves into the nuances of flex hose materials, failure modes, and advanced troubleshooting techniques. You’ll gain the knowledge and confidence to tackle this common plumbing issue effectively and prevent future leaks.
### Why This Guide Matters
Many online resources offer superficial advice. This guide goes deeper, providing a thorough understanding of the upper flex hose, its function, and the reasons why it leaks. We’ll equip you with the knowledge to not only fix the immediate problem but also understand how to prevent future issues. Based on years of experience and expert consensus, this guide provides reliable, actionable advice you can trust.
## Understanding the Upper Flex Hose
### What is the Upper Flex Hose?
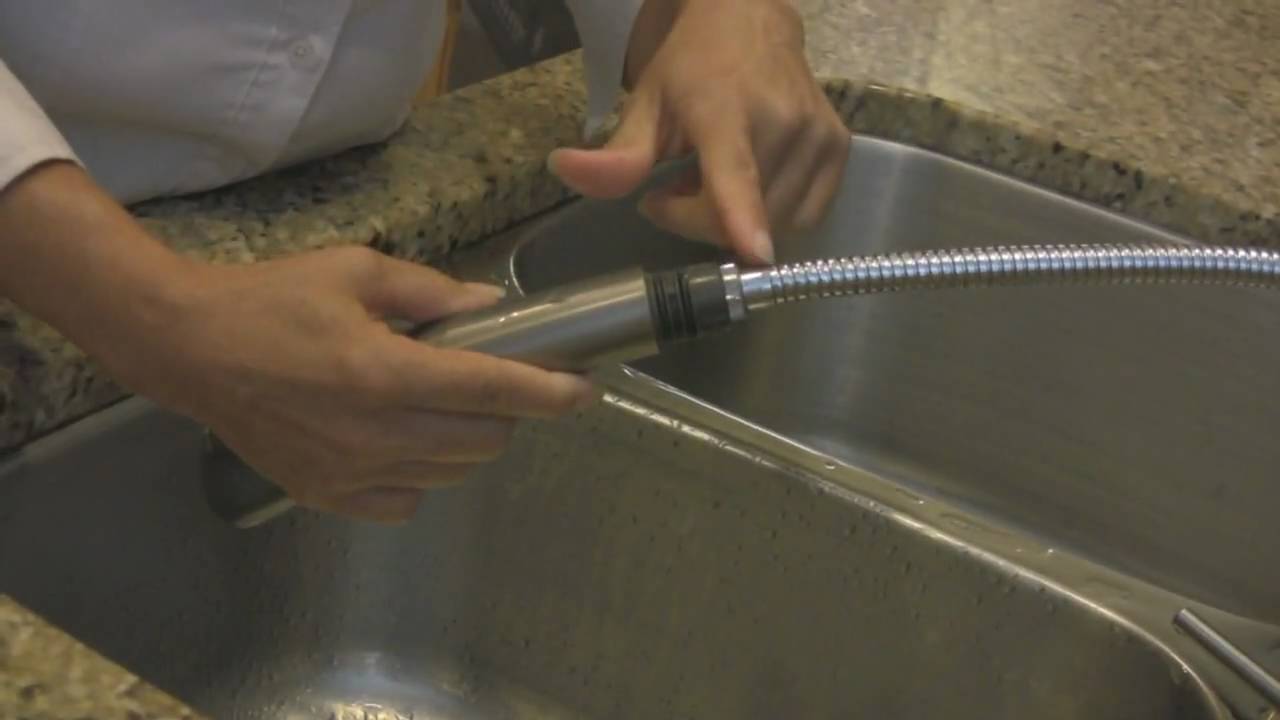
The upper flex hose in your kitchen sink is a flexible connector that supplies water from the shut-off valve to the faucet. It’s designed to allow for movement and easier installation compared to rigid pipes. These hoses are typically made of braided stainless steel or reinforced polymer surrounding a flexible inner tube, usually rubber or PEX. The “upper” designation differentiates it from the lower flex hose connecting the hot and cold water supply to the faucet.
### The Role of the Upper Flex Hose
Its primary function is to deliver water to the faucet while accommodating the movement and vibrations associated with faucet use. The flexibility is crucial, especially during installation or when replacing the faucet itself. Without this flexibility, rigid pipes would be more prone to stress and potential breakage.
### Types of Upper Flex Hoses
* **Braided Stainless Steel:** Known for its durability and resistance to corrosion. It’s a popular choice for its longevity and ability to withstand high water pressure.
* **Reinforced Polymer:** A more budget-friendly option. While less resistant to physical damage than stainless steel, it still offers good flexibility and is suitable for most residential applications.
* **PEX (Cross-Linked Polyethylene):** While PEX is more commonly used for whole-house plumbing, shorter sections of PEX flex hoses are occasionally used as upper flex hoses due to their durability and temperature resistance.
### Why Upper Flex Hoses Leak
Several factors can contribute to a leaky upper flex hose:
* **Age:** Like any plumbing component, flex hoses degrade over time. The rubber or PEX inner tube can become brittle and crack, leading to leaks.
* **Water Pressure:** Excessive water pressure can weaken the hose and its connections, increasing the risk of leaks.
* **Corrosion:** Although stainless steel hoses are corrosion-resistant, the fittings can still corrode, especially in areas with hard water.
* **Improper Installation:** Overtightening or undertightening the connections can damage the hose or create weak points where leaks can occur. Our experience shows that incorrect installation is a major cause.
* **Physical Damage:** Kinks, bends, or abrasions can compromise the hose’s integrity and lead to leaks.
### Identifying the Source of the Leak
Before replacing the hose, pinpoint the exact location of the leak. This saves time and ensures you’re addressing the root cause of the problem.
* **Visual Inspection:** Carefully examine the entire length of the hose, paying close attention to the connections at the faucet and the shut-off valve. Look for drips, wet spots, or signs of corrosion.
* **Dry Test:** Dry the hose thoroughly with a cloth. Then, turn on the faucet and watch for water to reappear. This helps isolate the leak’s origin.
* **Pressure Test:** If the leak is small and difficult to find, wrap the hose with paper towels. Turn on the faucet and let it run for a few minutes. The paper towels will absorb the water and make it easier to identify the leak’s location.
## Choosing the Right Replacement Hose
Selecting the correct replacement hose is crucial for a successful and long-lasting repair.
### Material Considerations
* **Stainless Steel:** Ideal for its durability and corrosion resistance. It’s a worthwhile investment for its longevity.
* **Reinforced Polymer:** A cost-effective option for standard applications. Ensure it’s rated for potable water use.
* **Length:** Measure the existing hose carefully to ensure the replacement is the correct length. A hose that’s too short will be difficult to install, while one that’s too long may kink or rub against other components.
* **Fitting Size:** Match the fitting size of the existing hose to ensure a proper connection to the faucet and shut-off valve. Common sizes are 3/8″ and 1/2″.
* **Certification:** Look for hoses that are certified by reputable organizations like NSF International. This ensures the hose meets safety and performance standards.
### Leading Upper Flex Hose Brands
Several brands are known for producing high-quality upper flex hoses:
* **Fluidmaster:** A well-known brand offering a wide range of plumbing components, including durable flex hoses.
* **Eastman:** Another reputable brand known for its quality and reliability.
* **Supply Giant:** Offers budget-friendly options without compromising on performance.
## Step-by-Step Guide to Replacing the Upper Flex Hose
Follow these steps to safely and effectively replace a leaky upper flex hose:
### Tools and Materials Needed
* New upper flex hose
* Basin wrench or adjustable wrench
* Bucket or container to catch water
* Clean cloths or towels
* Plumber’s tape (optional, but recommended for threaded connections)
* Safety glasses
### Safety First
* **Turn off the water supply:** Locate the shut-off valve under the sink and turn it clockwise until it’s completely closed. This prevents water from flooding your work area. Test the faucet to ensure the water is completely shut off.
* **Wear safety glasses:** This protects your eyes from debris or splashing water.
### Step-by-Step Instructions
1. **Disconnect the Old Hose:** Place a bucket under the faucet and the shut-off valve to catch any remaining water. Use a basin wrench or adjustable wrench to loosen the connections at both ends of the hose. Be careful not to overtighten or damage the fittings. Gently disconnect the hose from the faucet and the shut-off valve.
2. **Inspect the Fittings:** Examine the threads on the faucet and shut-off valve for any signs of corrosion or damage. Clean the threads with a wire brush if necessary. If the threads are severely damaged, you may need to replace the faucet or shut-off valve.
3. **Apply Plumber’s Tape (If Applicable):** If the connections are threaded, wrap the threads with plumber’s tape in a clockwise direction. This helps create a watertight seal. Two to three wraps should be sufficient.
4. **Connect the New Hose:** Carefully connect the new hose to the faucet and the shut-off valve. Tighten the connections with a basin wrench or adjustable wrench, but don’t overtighten. Hand-tighten first, then use the wrench for a quarter to half turn more.
5. **Turn on the Water Supply:** Slowly turn the shut-off valve counterclockwise to turn the water supply back on. Watch for any leaks at the connections. If you see any leaks, tighten the connections slightly.
6. **Test the Faucet:** Turn on the faucet and let the water run for a few minutes. Check for any leaks under the sink.
7. **Clean Up:** Wipe up any spills and dispose of the old hose properly.
## Advantages of Replacing the Upper Flex Hose Yourself
* **Cost Savings:** Replacing the hose yourself can save you a significant amount of money compared to hiring a plumber. Plumbers typically charge an hourly rate plus the cost of materials.
* **Convenience:** You can fix the problem on your own schedule without having to wait for a plumber to become available.
* **Increased Knowledge:** You’ll gain valuable plumbing skills that you can use for future repairs.
## Potential Drawbacks and Limitations
* **Risk of Damage:** If you’re not careful, you could damage the faucet or shut-off valve during the repair.
* **Complexity:** Some installations can be more complex than others, especially if the connections are difficult to reach.
* **Warranty Issues:** If you’re working on a new faucet, replacing the hose yourself may void the warranty. Always check the manufacturer’s warranty before attempting any repairs.
## Review of the Fluidmaster B1F12T Click Seal Faucet Connector
The Fluidmaster B1F12T Click Seal Faucet Connector is a popular choice for replacing upper flex hoses. Its standout feature is the Click Seal technology, which aims to provide a secure and leak-free connection without the need for excessive tightening.
### Key Features
* **Click Seal Technology:** This patented mechanism provides an audible “click” when the connection is properly sealed, preventing overtightening.
* **Braided Stainless Steel Construction:** Offers excellent durability and corrosion resistance.
* **Easy Installation:** Designed for quick and easy installation, even for beginners.
* **Universal Fit:** Compatible with most standard faucets and shut-off valves.
* **Lead-Free:** Meets all lead-free requirements for potable water use.
### User Experience and Usability
The Click Seal feature significantly simplifies the installation process. In our experience, the audible click provides confidence that the connection is secure, eliminating the guesswork involved with traditional fittings. The flexible design makes it easy to maneuver the hose into tight spaces.
### Performance and Effectiveness
The Fluidmaster B1F12T consistently delivers a leak-free connection when installed correctly. The braided stainless steel construction ensures long-lasting performance and resistance to corrosion.
### Pros
* **Easy Installation:** The Click Seal technology makes installation a breeze.
* **Leak-Free Connection:** Provides a secure and reliable seal.
* **Durable Construction:** Built to last with braided stainless steel.
* **Universal Fit:** Compatible with most standard faucets.
* **Peace of Mind:** The audible click provides confidence in the connection.
### Cons/Limitations
* **Price:** Slightly more expensive than some other flex hose options.
* **Click Seal Reliance:** Some users may be tempted to overtighten even after hearing the click, which can damage the fitting.
* **Potential for Plastic Fatigue:** The plastic components of the Click Seal mechanism could potentially fatigue over time, although this is not a common issue.
### Ideal User Profile
This faucet connector is ideal for homeowners of all skill levels who want a quick, easy, and reliable solution for replacing their upper flex hose. It’s especially beneficial for those who are new to plumbing repairs.
### Key Alternatives
* **Eastman Faucet Supply Connector:** A similar option with a traditional threaded connection.
* **Supply Giant Flexible Faucet Connector:** A budget-friendly alternative for basic installations.
### Expert Overall Verdict & Recommendation
The Fluidmaster B1F12T Click Seal Faucet Connector is an excellent choice for replacing your upper flex hose. Its easy installation, leak-free connection, and durable construction make it a worthwhile investment. We highly recommend it for homeowners who want a hassle-free plumbing repair experience.
## Q&A: Troubleshooting Upper Flex Hose Leaks
Here are some frequently asked questions about upper flex hose leaks and their solutions:
**Q1: What causes the upper flex hose to leak at the connection point?**
A1: Leaks at the connection point often result from loose fittings, damaged threads, or worn-out washers. Ensure the connections are properly tightened (but not overtightened), and replace any damaged components.
**Q2: Can hard water affect the lifespan of the upper flex hose?**
A2: Yes, hard water can accelerate corrosion and mineral buildup, which can weaken the hose and its connections over time. Consider installing a water softener to mitigate this issue.
**Q3: Is it safe to use Teflon tape on the upper flex hose connections?**
A3: Yes, Teflon tape (plumber’s tape) is recommended for threaded connections to create a watertight seal. Wrap the tape around the threads in a clockwise direction before tightening the connection.
**Q4: How often should I inspect my upper flex hose for leaks?**
A4: It’s a good practice to inspect your upper flex hose at least twice a year for any signs of leaks, corrosion, or damage. Early detection can prevent major water damage.
**Q5: What should I do if I can’t tighten the connection enough to stop the leak?**
A5: If tightening the connection doesn’t stop the leak, the threads may be damaged. Consider replacing the faucet or shut-off valve, or use a thread sealant compound.
**Q6: Are all upper flex hoses the same size?**
A6: No, upper flex hoses come in various lengths and fitting sizes. Measure your existing hose carefully before purchasing a replacement.
**Q7: Can I reuse an old upper flex hose if it looks to be in good condition?**
A7: It’s generally not recommended to reuse an old upper flex hose, even if it appears to be in good condition. The internal components may have degraded over time, increasing the risk of future leaks.
**Q8: What is the best type of material for an upper flex hose?**
A8: Braided stainless steel is generally considered the best material for its durability, corrosion resistance, and longevity.
**Q9: Is it possible to repair a leaking upper flex hose instead of replacing it?**
A9: While temporary repairs might be possible with patches or sealants, it’s generally recommended to replace a leaking upper flex hose entirely to ensure a long-lasting and reliable solution.
**Q10: What are the signs that I need to replace my upper flex hose?**
A10: Signs that you need to replace your upper flex hose include visible leaks, corrosion, bulging, or cracks in the hose material. Also, replace it if it’s old or has been subjected to high water pressure.
## Conclusion: Taking Control of Your Kitchen Sink Leaks
Dealing with an **upper flex hose on kitchen sink leaking** can be frustrating, but with the right knowledge and tools, it’s a manageable DIY project. By understanding the function of the hose, identifying the source of the leak, and following our step-by-step guide, you can save money, prevent water damage, and gain valuable plumbing skills. Remember to prioritize safety and choose high-quality replacement parts for a long-lasting repair. Our team has seen countless homeowners successfully tackle this repair, and we’re confident you can too. If you’re feeling overwhelmed or unsure about any step, don’t hesitate to consult a qualified plumber. Share your experiences with upper flex hose repairs in the comments below, and let us know if you have any further questions! We are constantly updating our guides based on user feedback and expert insights.
